The 6 steps of creating a mobile application
The development of a mobile application is part of the challenges of your digital business transformation. For this, you need to entrust this mobile application project to professionals in the field. And you ask yourself many questions. How it will go? What are the main steps to develop an iPhone or Android mobile application? We tell you everything about the 6 essential steps in the process of creating your mobile application (we were inspired by our own Exytex process to hide nothing from you)
Step 1: define the need and objectives of your mobile application<<
Defining your strategy is the first essential step that will guide the development of your mobile application. First of all, it is important to know your future users and their needs, define the objective of your application, and the commercial objectives in particular.
Examples of app goals :
- Generate online sales
- Build customer loyalty, provide entertainment
- Reinforce the brand image
- Improve the speed and quality of interactions with your customers…
All these elements will also have to be included in your application specifications.
Your budget is essential to know to guide the size that your application will take. To help you, see the article on the cost of a mobile application.
This phase is very important to begin to frame the need and ensure that the project runs smoothly. Possible delivery batches of features will be expected. Think only of essential features at the start. The rest may be subject to future updates. Several costings will be necessary after re-estimating and validating the functional outline.
The time required for this step should not be neglected. It determines the rest of the project and the quality of your application. Let's take the time together to succeed in this 1st step
Step 2: design specs and wireframes<<
With the outline of the project being laid, it is then time to focus more on the functionalities of your mobile application. Through discussion workshops, information is collected to produce a document including functional and technical specifications.
This step is also marked by the preparation of wireframes, useful for the schematization of usage scenarios:
- Navigation between each screen
- The interaction when you click on such a button
- The hierarchy of information...
Also called prototyping, this phase presents a functional and non-aesthetic approach.
The specifications will be refined with the questions asked during the design of wireframes and over the course of the exchanges to lead to a detailed vision of the project: technical architecture, data model, details of each functionality (data displayed, possible interactions, storage, and exchanges techniques).
A successful application is a UX Design-oriented application (= user experience) with simple, efficient, easy-to-use ergonomics to quickly find the information you need!
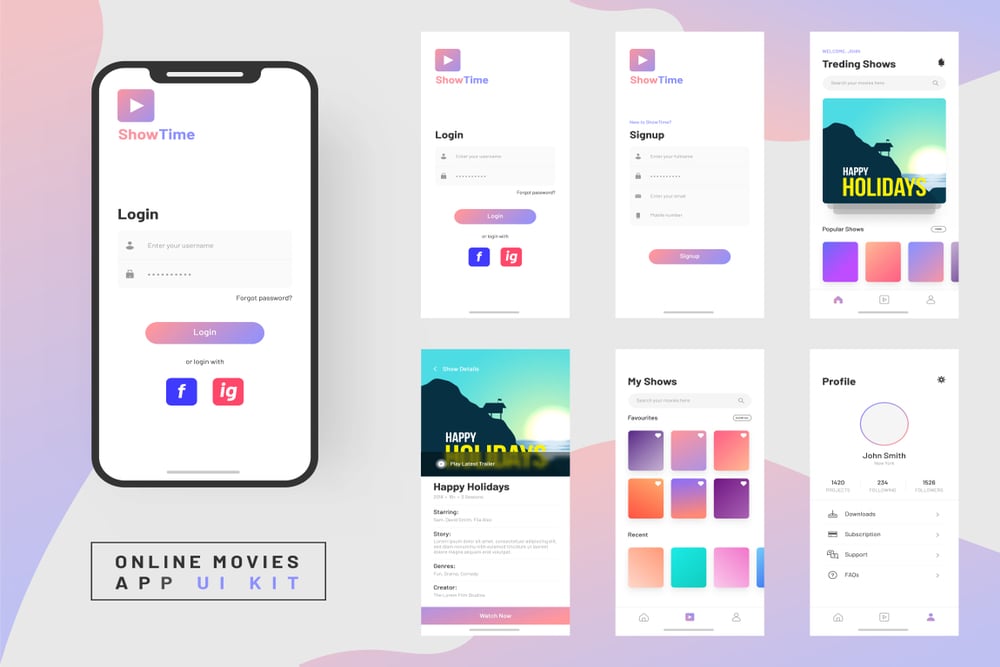
Step 3: bring the prototypes to life with graphic models<<
When the wireframes are validated, the designers are responsible for bringing them to life with colors and visuals, working on the shape of the buttons, adding pictograms to help understand and read the elements. All this is in accordance with the graphic charter of the Development company or the brand.
The main screens are declined in this way and it is then even easier to project yourself into the graphic rendering of the application.
This is one of the most anticipated steps for our customers!
Step 4: develop the functionalities of the mobile application<<
Several technologies exist for an application. At Exytex, we offer 3 developments according to your needs:
- Native Development: unique code to develop either on Apple or on Google because everyone imposes their own language
- Multi-platform development: 1 single development code for both platforms (iOS and Android)
- Web development: accessible on the web and not downloadable from the stores
Depending on the chosen technology, the developers then take over from the application to work on:
The front-end: these are the elements visible to the user on the screen and what he can interact with
The back-end: what are the server processes, data storage (eg photos, user profile data, etc.)
Potential APIs: data synchronization
During this stage, the developers work together on the front, back, and API parts to deliver the functionalities as imagined on the design part.
Step 5: accept the application according to the rules of the art<<
After passing through the hands of developers, the application is then subjected to extensive testing by the team which carries out functional tests. They are made on different types of mobile and different versions so that each user can have a successful experience with the application.
This version of the application is called the “beta version” or “test version”. Access is communicated to access it.
It is then the turn of a panel of testers identified with you, to carry out tests of the application and to put themselves in a situation to test the functionalities and interactions of the screens, the navigation, the speed of the application, the contents ….
At Exytex, returns are made in the form of tickets directly on our ticketing platform.
A corrective phase is implemented before the application is delivered to production.
Step 6: deploy the application on the stores<<
From there, there is still the last step which is the submission of the application to the online stores.
Upstream, you will have to create an Android account and an Apple Developer account
On the App Store, validation may take a few days. Justifications may be requested by Apple
On the Play Store, validation can take a few hours to 2 days of deployment
After validation of the blinds, the application is now online
But the work does not stop there! Consider that this is the beginning of a long road during which it is important to take into account the feedback of your users, work on new features, improve your content...
So, ready to embark on your project?
 Wah, Pakistan
 Bradford, UK
 Dubai, UAE
Read Comments:
Leave a Comment